How To Uv Map In Blender – The first step is to unwrap your model into a UV map. You can do this by selecting your model in Edit Mode, pressing U, and choosing one of the unwrap options. Depending on the shape and . In this article, you will learn how to UV map a model with a floor plan using Blender, a free and open-source 3D modeling software. Before you start UV mapping, you need to prepare your model by .
How To Uv Map In Blender

Source : www.youtube.com
Blender: UV Mapping – Simply Explained | All3DP

Source : all3dp.com
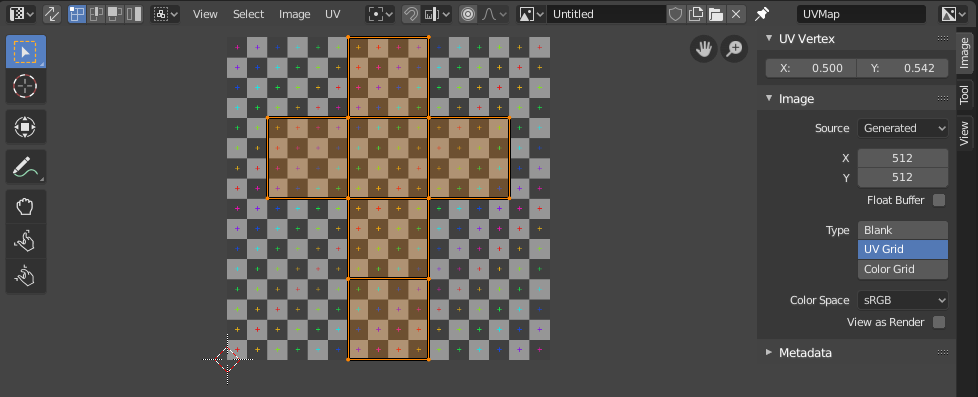
UV Operators Blender 4.2 Manual

Source : docs.blender.org
Blender Tutorial Making a Coke Can UV Mapping and Multiple

Source : www.youtube.com
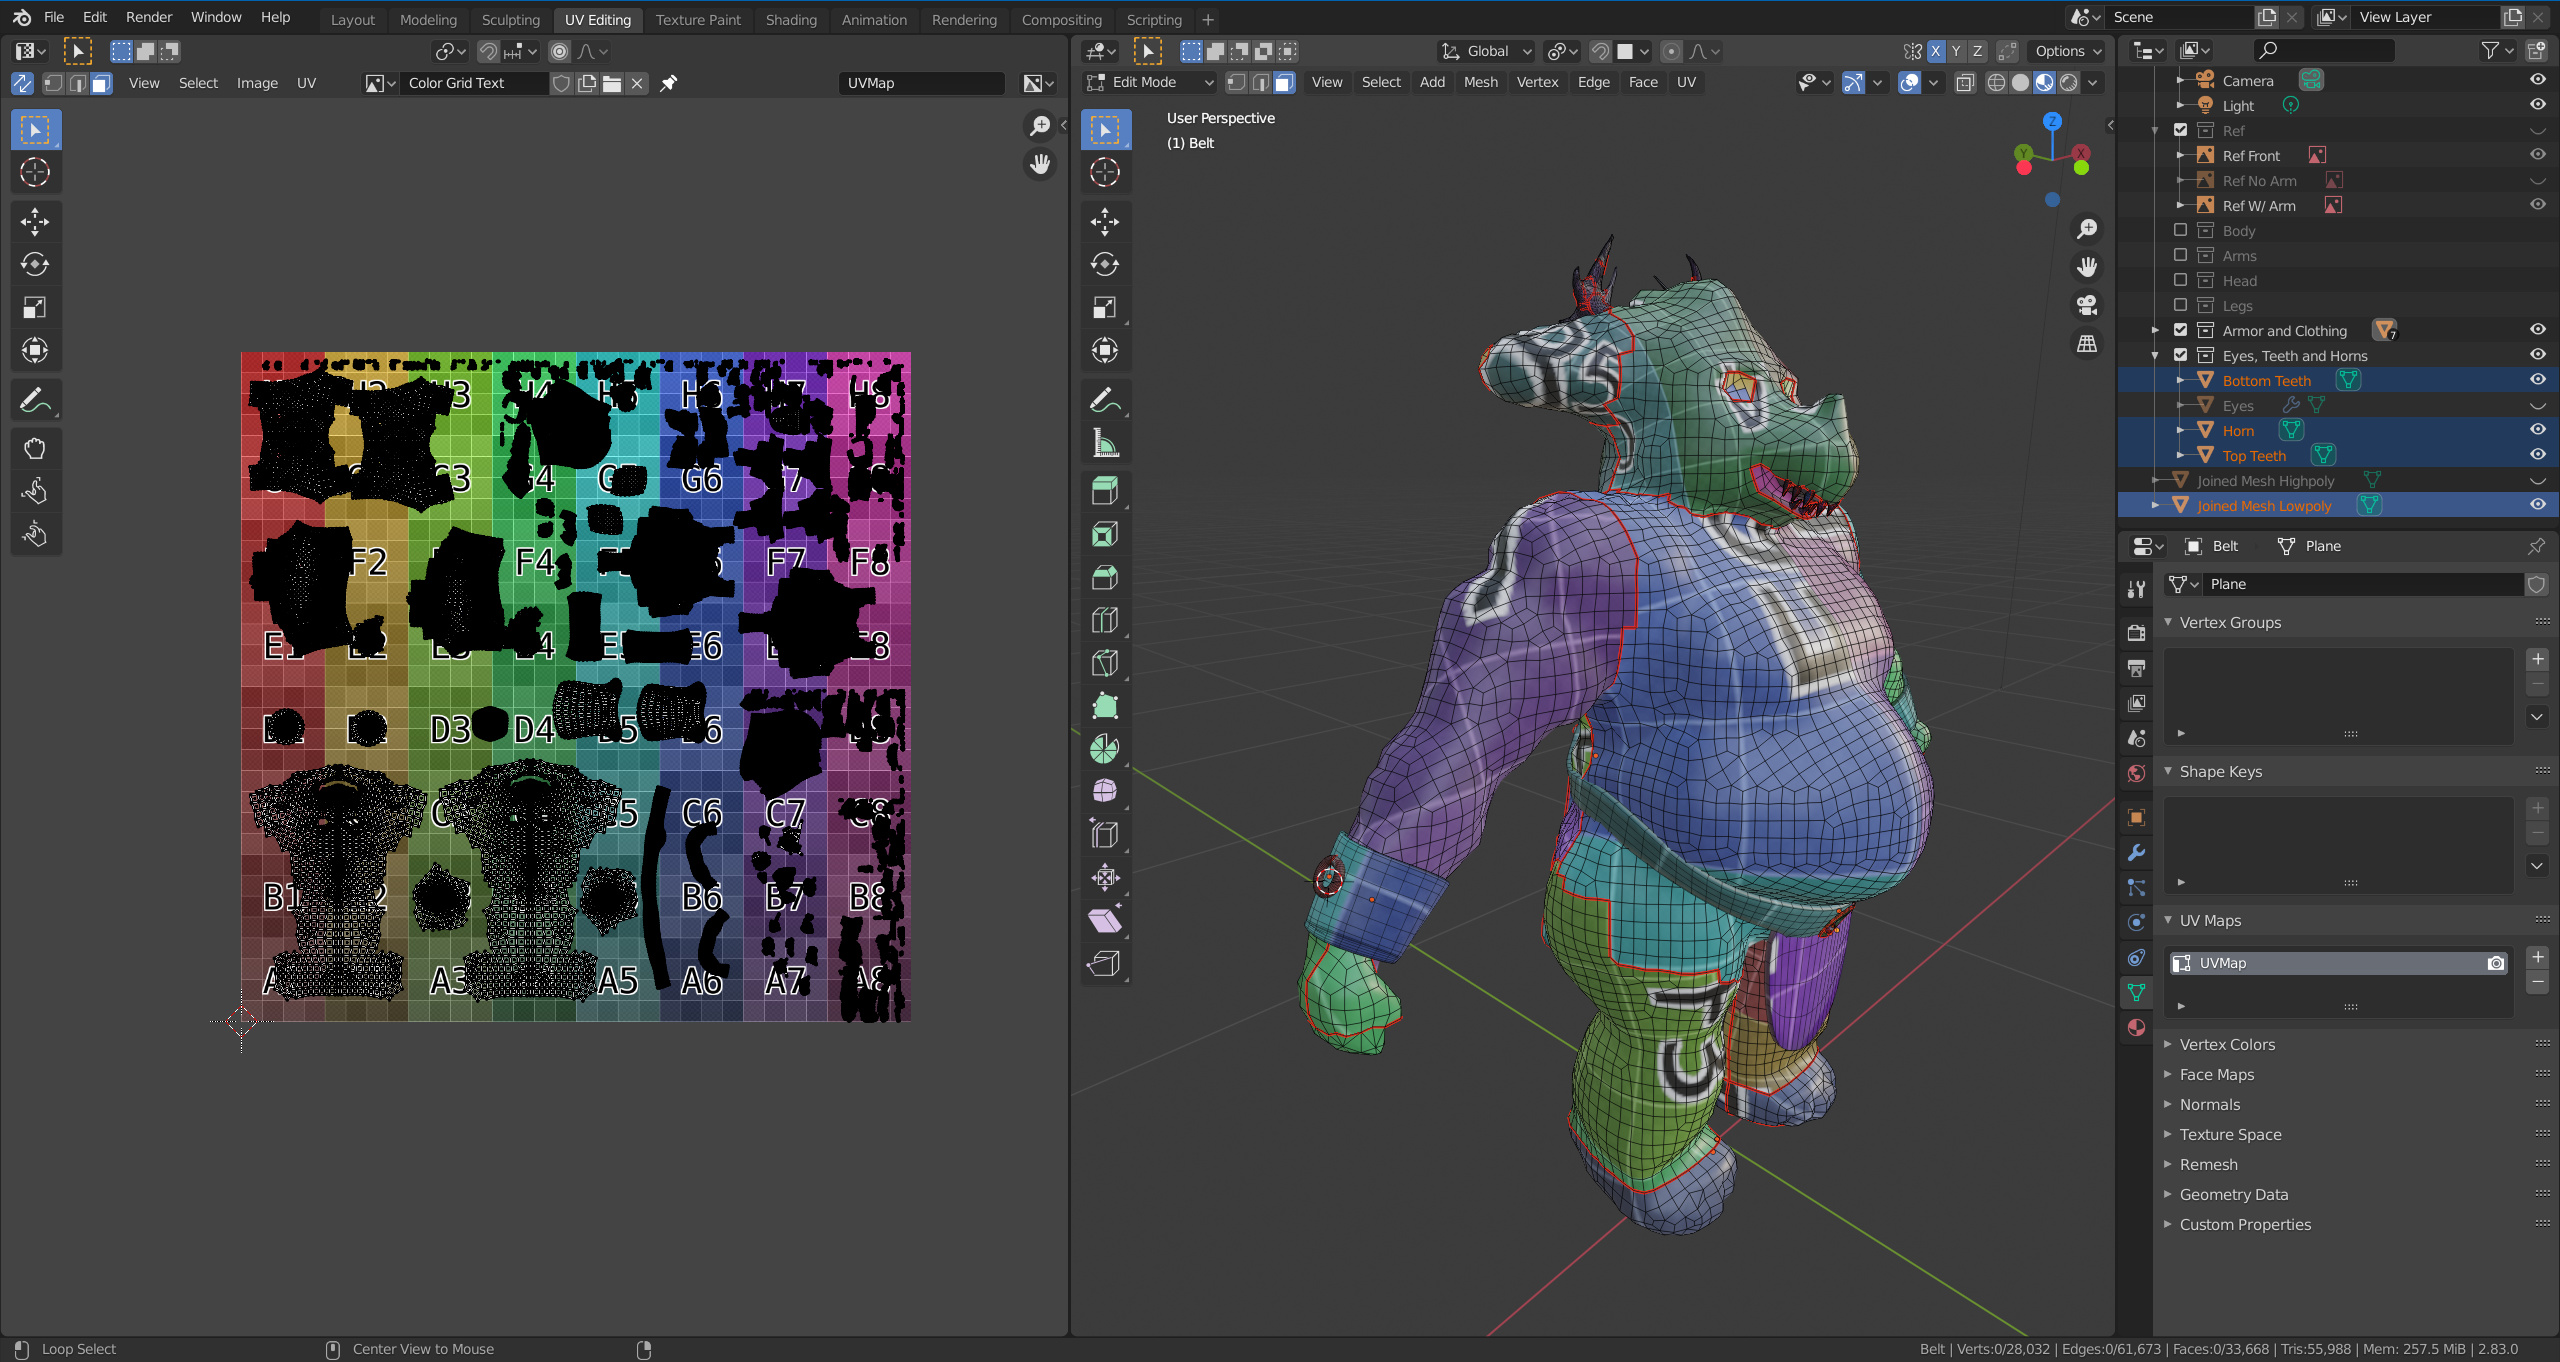
Introduction Blender 4.2 Manual
Source : docs.blender.org
UV Mapping Mess Materials and Textures Blender Artists Community

Source : blenderartists.org
Can you reset a UV Map to a blank one? (And issues with reseting a
Source : community.gamedev.tv
How do I straighten UV maps? Blender Stack Exchange

Source : blender.stackexchange.com
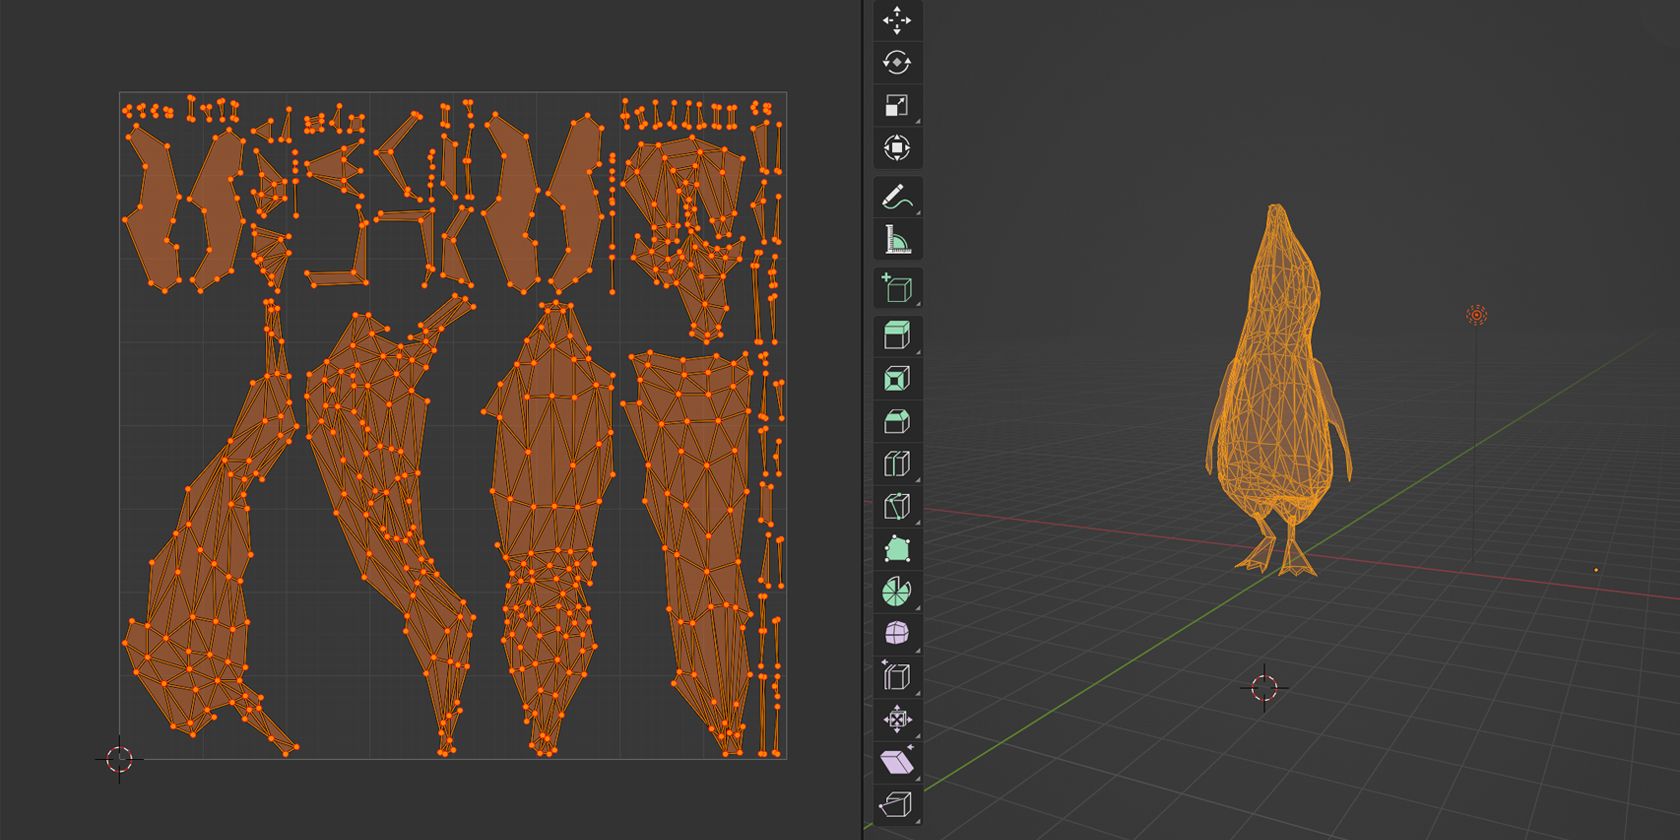
Blender UV Mapping: 7 Tips and Tricks for Beginners
Source : www.makeuseof.com
Export UV Layout (Texture Maps for IMVU) – Blender Knowledgebase
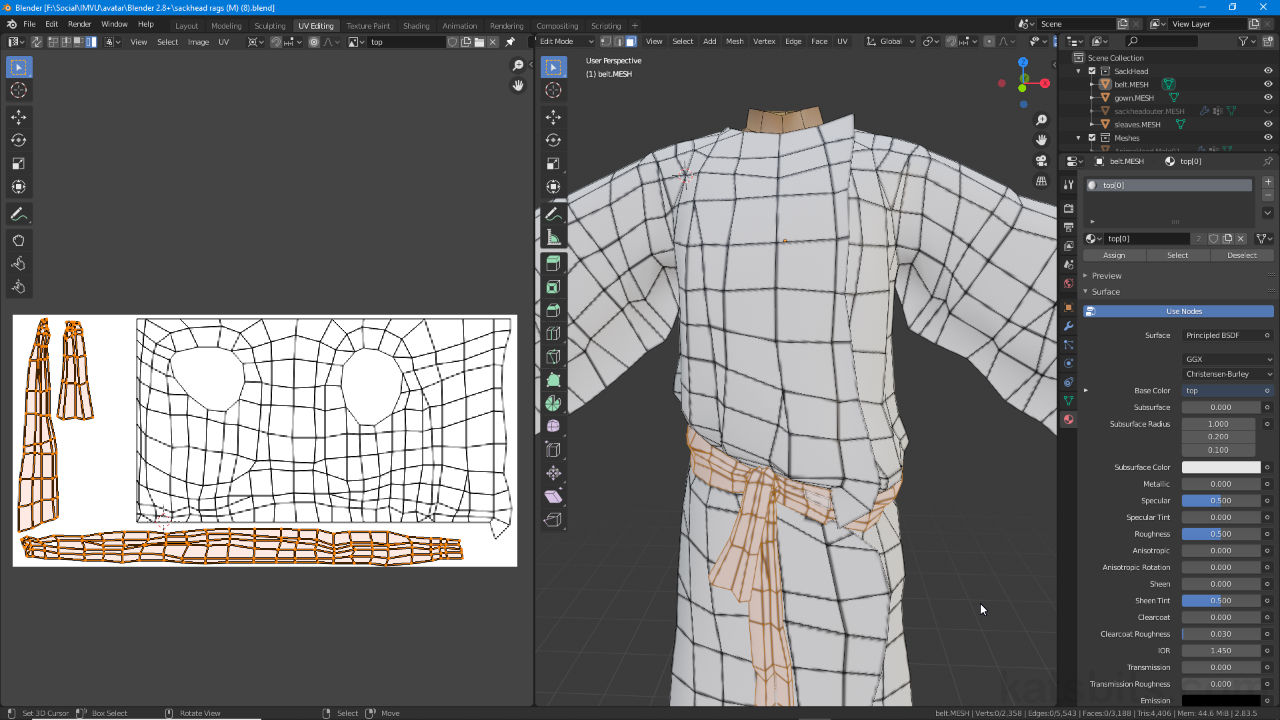
Source : www.katsbits.com
How To Uv Map In Blender UV Unwrapping for Beginners (Blender Tutorial) YouTube: Please inform the freelancer of any preferences or concerns regarding the use of AI tools in the completion and/or delivery of your order. Welcome! Here is Tainat a seasoned 3D character modeler with . Another trick is to use the same weight maps and simply map colours to blender text blocks which are injected into the gcode at export time. These gcode blocks can be used swap tool heads or .